Creating your own product might not be difficult, but by now, you must be worried about product packaging and labeling if you have decided to do it all by yourself, are you not? We understand the extent of the problem you can face as a newbie, but this article can help you sort one of the crucial steps in product labeling, i.e., the application of label on the product.
Do you want to know how to do it? Let’s start.
Alternatives available for the application of label:
Generally, there are two options available. You can either apply the label by hand or by the specialized machinery available in the market for this purpose.
The choice of the method is dependent on the workload, budget available for this process, and the type of product under consideration.
If you are starting in the market, we’ll advise you to go for manual application as you’ll probably only have a few orders, and your investment will also be limited. So, in this type of situation, manual labeling can prove beneficial.
But if your product packaging is in the thousands, manual labeling is not ideal. So, you’ll have to go for a machine application. There is a variety of automatic application machines available as well. You can choose between semi-automatics to fully automatic machines; that depends on you.
Process of Label application:
If you have the automated process, you’ll probably be applying all the settings once, and the machine will follow through for all of your products. But manual label applications can be different, and you can follow the process below to get it done.
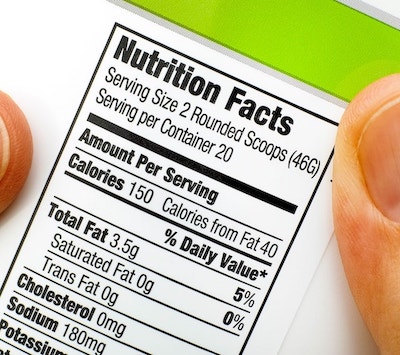
Identify the right point of applying the label:
You cannot place your label at different locations, even if you are a small player. It is better to identify a particular point on your product to create homogeneity in the entire stock.
Flat surfaces are best to apply your label. So, if you have enough space on your product, choose a flatter area. But if you don’t have a completely flat surface on your product, try to search for a place as flat as you can.
Clean the surface:
Before applying the label, make sure that the surface area is clean. Dirt particles on the surface can limit the adhesion of the label. Similarly, the surface must be moisture-free, or your tags won’t stick properly.
Keep your labels at room temperature:
If you have a hot or a cold product and have kept your labels at the same place, then you’ll have to wait for your labels to reach room temperature. Extreme temperatures will require stronger adhesives; otherwise, they won’t work.
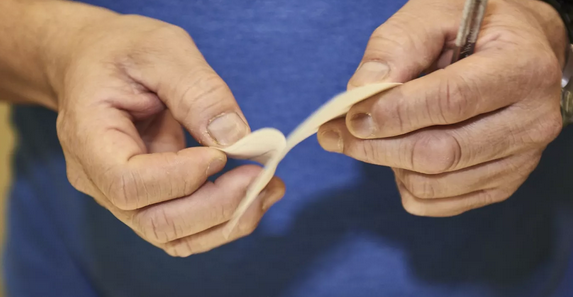
Remove the back liners:
When your product is ready for applying to the label, remove the back liner and carefully apply the label on the product.
Press it hard so that the entire label sticks to the product properly.
Let it cure:
After applying the label, let the tag stay in a neutral environment for 72 hours. It will ensure that it is fixed to the product and won’t come off easily.
Summing up:
You might have to practice this process a few times to get things done swiftly. Once you repeat it a few times, you’ll also understand the way to handle the tricky product shapes. So, practice, and you’ll get it done. Get a quote for product labels from M&R Label.
)