How to Apply Your Label to a Product (Complete Guide)
Creating your own product might not be difficult, but product packaging and labeling can be challenging if you’ve decided to do it all by yourself. This article will help you sort one of the crucial steps in product labeling: the application of label on the product.
Alternatives for Label Application
Generally, there are two options available. You can either apply the label by hand or by specialized machinery available in the market for this purpose.
The choice of method depends on:
- Your workload volume
- Budget available for this process
- The type of product under consideration
If you are starting in the market, manual application is advisable since you’ll probably only have a few orders, and your investment will be limited. But if your product packaging is in the thousands, manual labeling is not ideal—you’ll need to consider automatic application machines.
Process of Manual Label Application
If you have an automated process, you’ll apply settings once and the machine will follow through for all products. But manual label applications follow a different process:
Step 1: Identify the Right Application Point
You cannot place your label at different locations, even if you are a small player. It’s better to identify a particular point on your product to create homogeneity in the entire stock.
Best practices:
- Flat surfaces are best for applying labels
- If you don’t have a completely flat surface, search for the flattest area available
- Ensure the location is visible and doesn’t interfere with product use
Step 2: Clean the Surface
Before applying the label, make sure the surface area is clean. Dirt particles on the surface can limit the adhesion of the label. Similarly, the surface must be moisture-free, or your labels won’t stick properly.
Cleaning tips:
- Use rubbing alcohol or soap and water
- Wipe with a lint-free cloth
- Allow the surface to dry completely before applying the label
Step 3: Keep Labels at Room Temperature
If you have a hot or cold product and have kept your labels at the same place, you’ll need to wait for your labels to reach room temperature. Extreme temperatures require stronger adhesives; otherwise, they won’t work properly.
Step 4: Remove the Back Liners
When your product is ready for the label:
- Peel the back liner carefully
- Avoid touching the adhesive side
- Hold the label by the edges
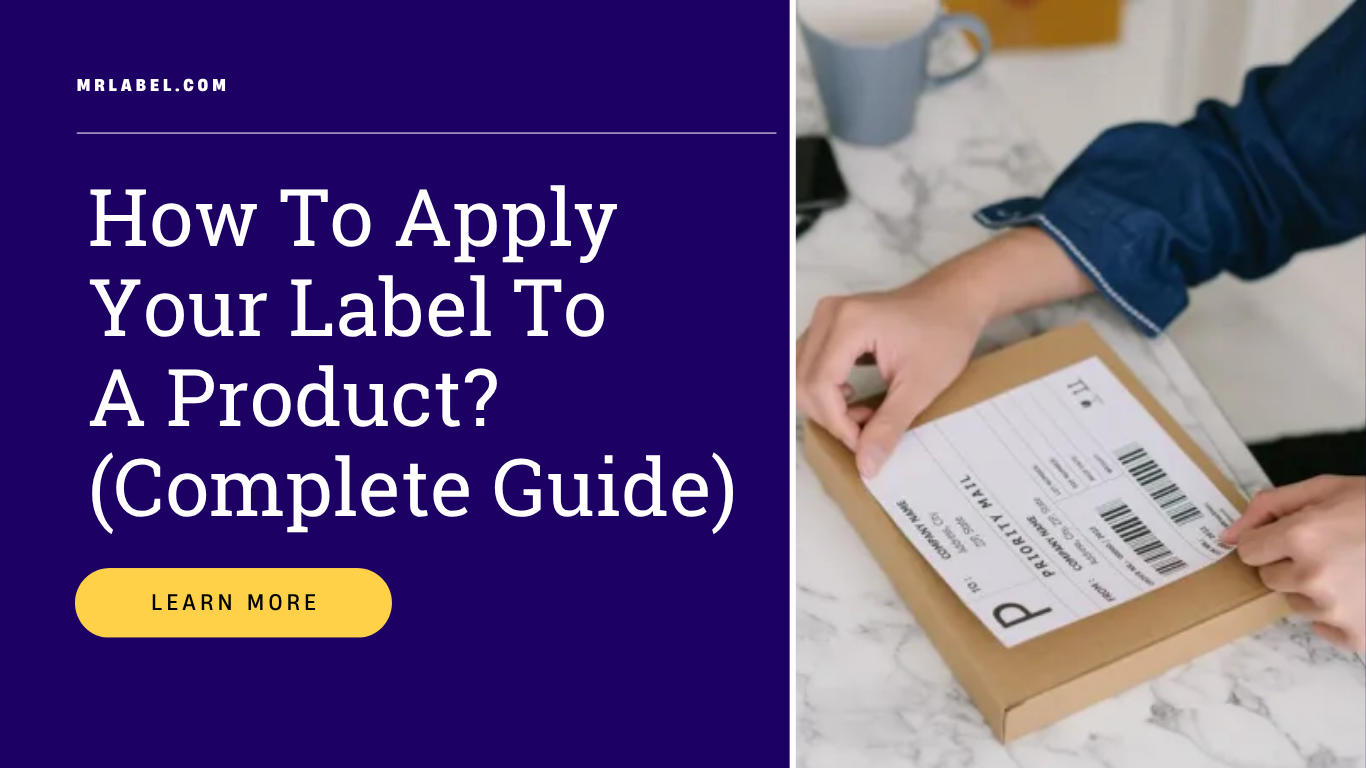
Step 5: Apply the Label
Apply the label to the product carefully:
- Start from one edge
- Slowly smooth the label across the surface
- Press firmly to eliminate air bubbles
- Work from the center outward to push out any trapped air
Step 6: Let It Cure
After applying the label, let it stay in a neutral environment for 72 hours. This ensures that it is fixed to the product and won’t come off easily.
During curing:
- Avoid exposing the product to moisture
- Keep at room temperature
- Don’t stack products in ways that press against labels
Tips for Tricky Product Shapes
For curved or irregular surfaces:
- Use flexible label materials like vinyl
- Apply the label in sections for better adhesion
- Consider using a squeegee or credit card to smooth the label
- For bottles, start at the seam and wrap around smoothly
Summing Up
You might have to practice this process a few times to get things done swiftly. Once you repeat it a few times, you’ll also understand how to handle tricky product shapes.
For high-volume production, consider partnering with a label printer that can provide labels optimized for your specific application method—whether that’s hand application or machine application.
Ready to Start Your Label Project?
Our team of experts is ready to help bring your vision to life.
Request a Quote