If you have any interest in crafts, die-cut stickers must be on your list of things to get. However, if you are an artist or creative worker for any business, you may also be familiar with die stickers.
Unlike standard stickers, die stickers are cut to shape and then are finished to look professional. These stickers can be used to promote a brand or to add a creative touch to a marketing campaign.
One of the reasons these stickers have become so popular is that they can be easily made. We will discuss the steps to create colorful and attractive die stickers.
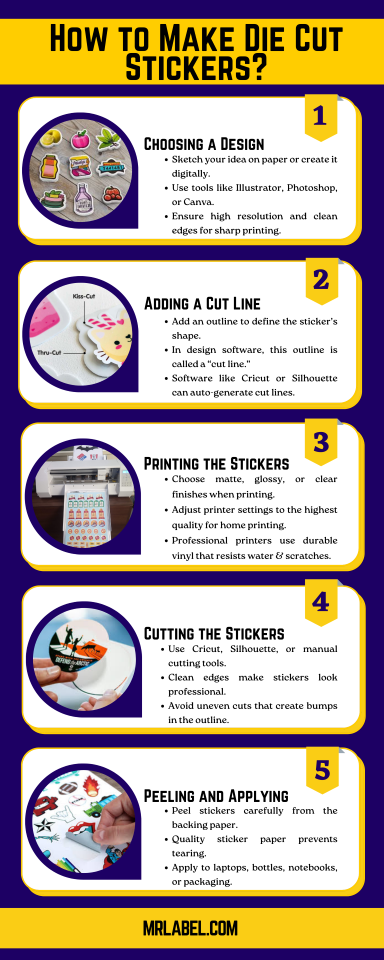
1. Choosing a Design
When you decide to make die stickers, you will need to draw the designs on paper or on your laptop. You can use several applications that help create artwork. You can create a custom design using graphic design software such as Adobe Illustrator, Photoshop, or free tools like Canva.
If you already have a logo design or a mascot that you would like to use as a base, your sticker design can be more colorful and will be helpful in creating an identity for your brand or product.
For the best results, make sure the design is high-resolution and has clean edges, so it prints sharply and cuts neatly.
2. Adding a Cut Line
When the design is ready, you will need to add a cut line. Die cut stickers are defined by their unique shapes; therefore, a neat outline to give it the required shape is vital. which means you need to outline where the cut will be made.
The outline, or the parts of the sticker that have to be cut, are called a cut line in design software. This line is the guide around your artwork that guides the cutting process. If you upload a design into one of the designing software, they can automatically generate this cut line.
If you are making die stickers at home with a cutting machine like Cricut or Silhouette, you can use the software to trace your design and set the cut line accordingly.
Once your design is ready, it’s time to print. You can use any compatible printer to get the mate, glossy, or clear options that you need. If you are printing at home, make sure your printer settings are adjusted for the highest quality.
If you prefer a professional look, you can send your design to a printing company that specializes in die cut stickers. They’ll handle the printing on durable vinyl materials that resist water, sun, and scratches.
3. Cutting the Stickers
Always remember to use specialized cutters to give your die stickers a smooth edge. No matter how nice the graphics are, if the edges are weak and untidy, your sticker will not look nice.
If you are using a Cricut or Silhouette machine, load the printed sticker sheet, select the correct material setting, and let the machine cut along your contour line.
However, many marketers and personal sticker makers cut the stickers manually. Use a craft knife or scissors, and make sure you do not interrupt the cut because that might form a bump in the outline.
Professional printers use advanced cutting machines that guarantee sharp and consistent edges for large batches.
4. Peeling and Applying
After cutting, carefully peel your stickers off the backing. High-quality sticker paper makes this step easier and ensures your stickers remain intact. Once peeled, your die cut stickers are ready to be applied to laptops, bottles, notebooks, packaging, or anywhere you want to add personality and branding.
Ways to Improve the Sticker
To ensure your die cut stickers look professional, always work with high-resolution designs, use durable vinyl paper, and laminate them if you want extra protection.
If you are planning to sell your stickers, ordering from a professional print shop may save you time and guarantee long-lasting quality. For personal projects, at-home machines provide a quick and easy solution for smaller quantities.
Conclusion
Creating die stickers is a trend that most marketers and artists use nowadays. If you are interested in making die stickers, we have shared all the steps. You must ensure a good quality printer and cutter to ensure that the final look of the stickers is as pleasant as it seemed as a design on the software.
Die stickers are really becoming popular because they are a creative way to express yourself, promote your brand, or add flair to everyday items. Whether you’re making just a few or hundreds, die-cut stickers are an accessible and fun project for anyone to try.
If you’re interested in learning more about our label services and would like us to provide you with a FREE quote, trust the experts at M&R Label to help you!
Call Us at (708) 534-6621 or Request a Quote!


